Fundamentals
The basic idea behind Relive is that you are given object data and frame data, and from there can do anything you want with the blank React canvas.
tsx
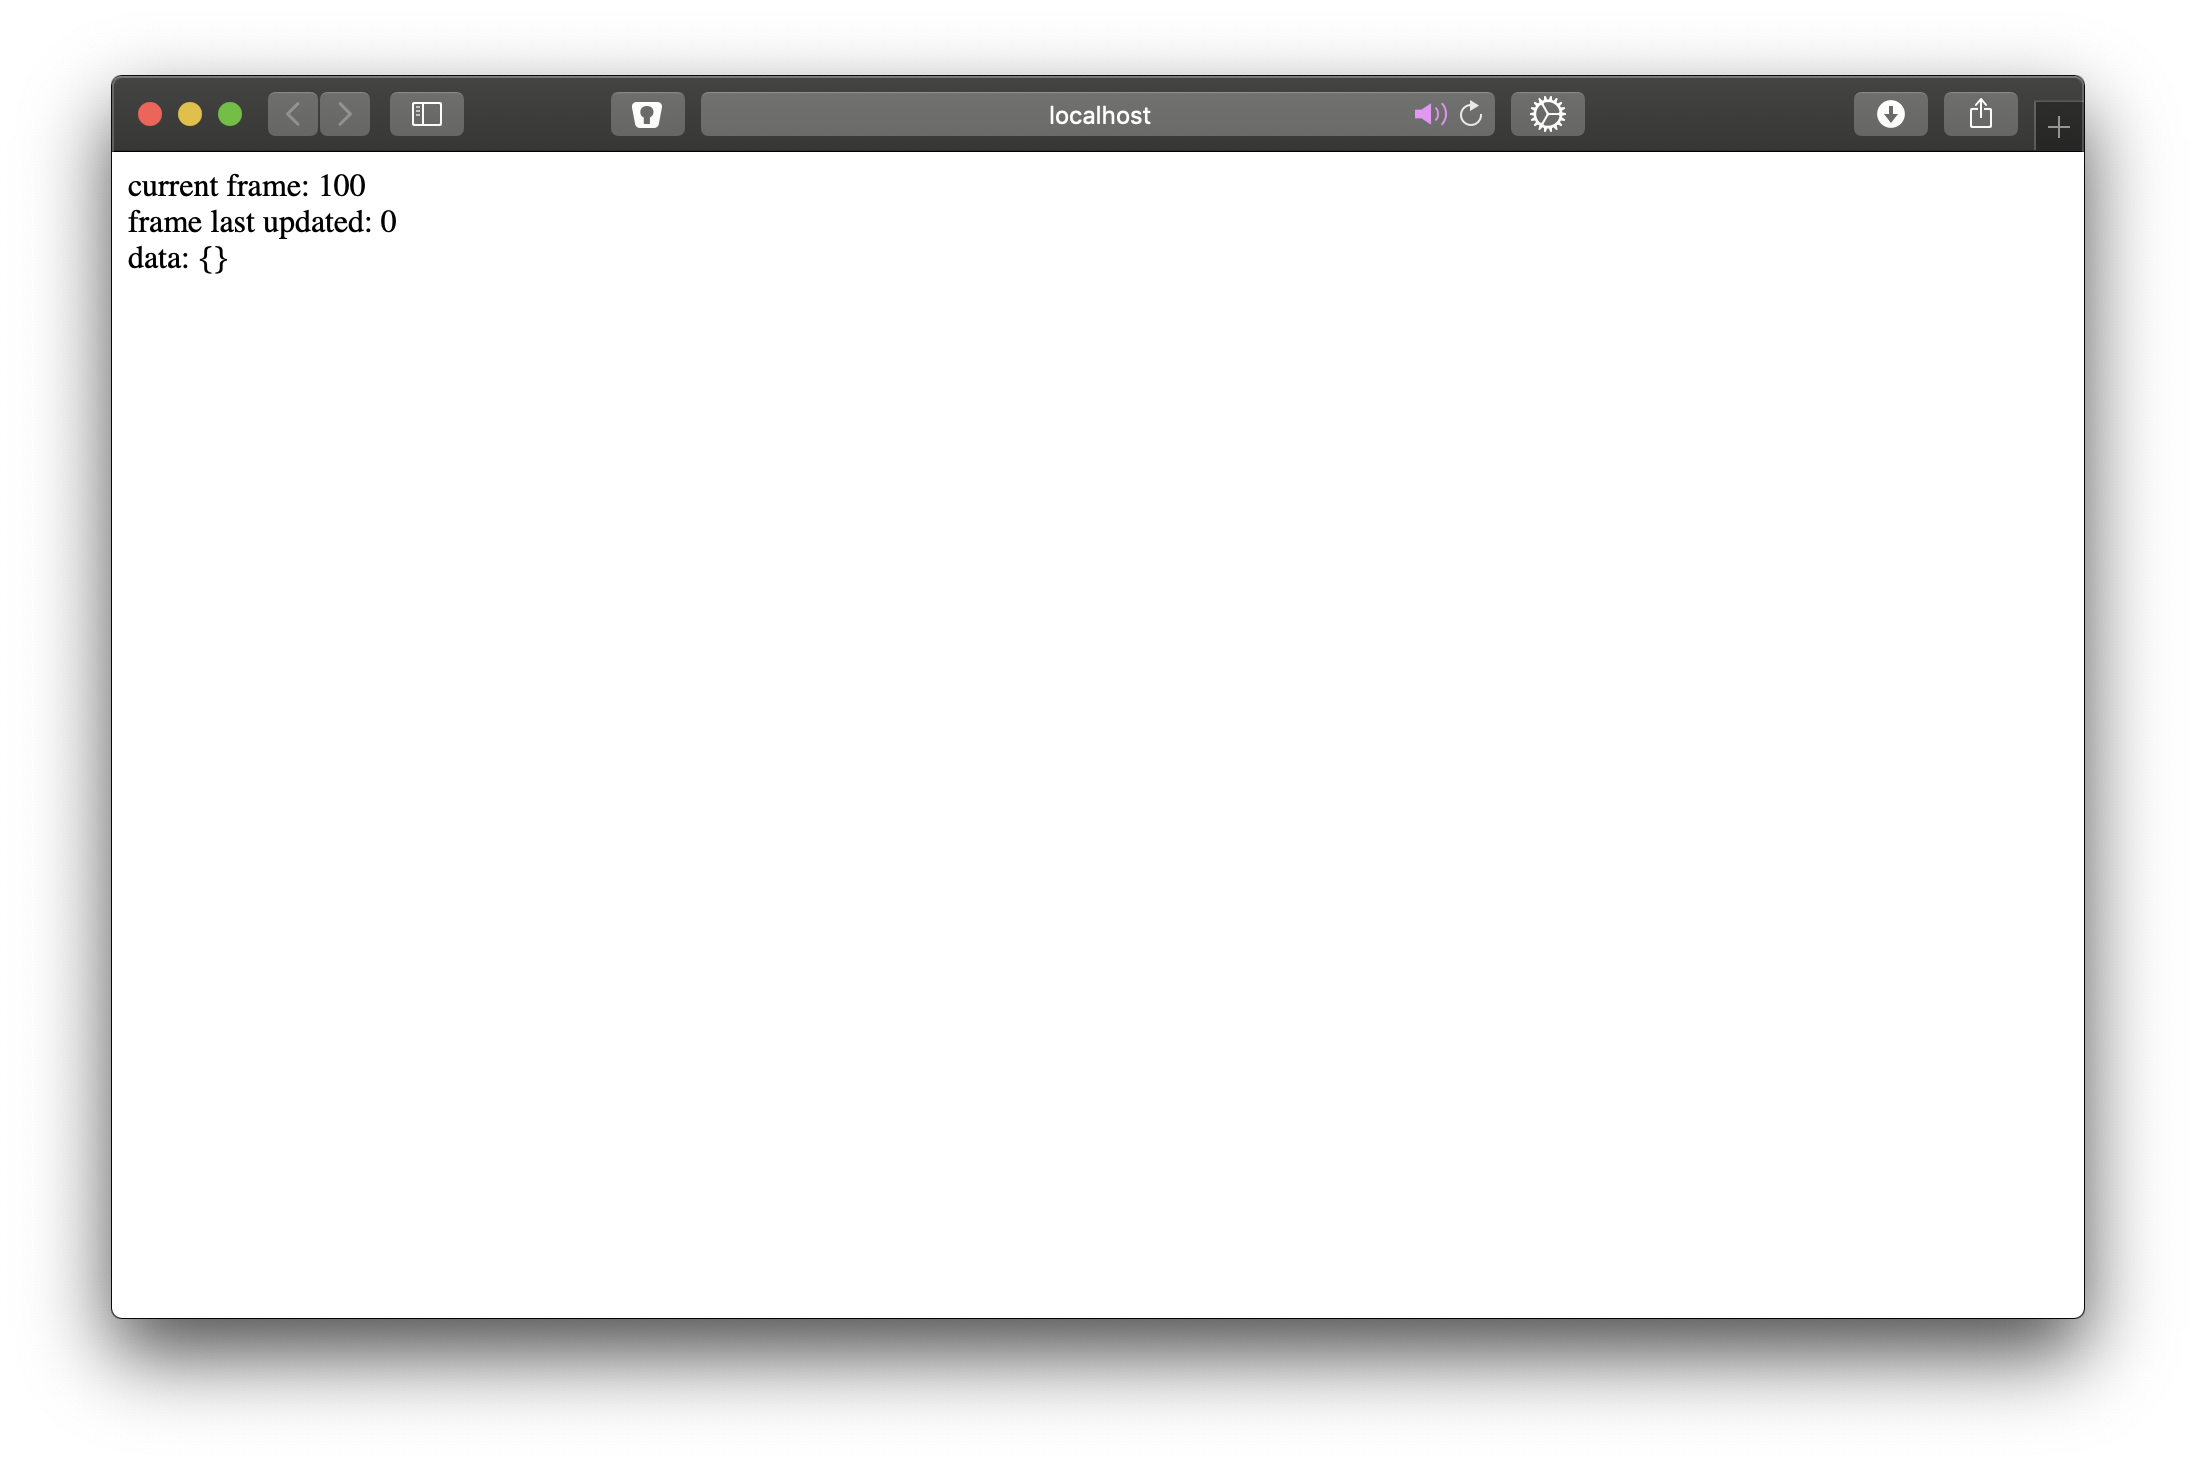
datais an object containing all information for that scene. We'll get to how this works a bit later.currentFrameis the current animation frame. It begins counting as soon as the scene's page is loaded, and resets when the page is reloaded.frameLastUpdatedis the frame on when thedataobject was last changed. Just likecurrentFrameit resets when the page is reloaded.
caution
The data object is only updated when you press the "send" button on that scene's controller.
Concepts and Key Terms#
In Relive, to keep everything orderly, there are a number of key terms used to describe different elements of the system.
"Scene" describes the component that uses the useRelive() hook. That is, a scene is what will be used as an overlay in your broadcasting software of choice.
Each scene has its own "Controller". That's what's shown on your computer and allows you to change the data and send it to the scenes. Each controller consists of a bunch of "Controls", which are the individual input rows.
Then there's the remote. That's what shows up when you go to the address that the CLI tells you to go to. It has controllers for all scenes that have been registered with Relive in index.jsx.
Registering Scenes#
Before a scene shows up in Relive and can be interacted with, you need to register it. That is done with the registerRelive() function.
tsx
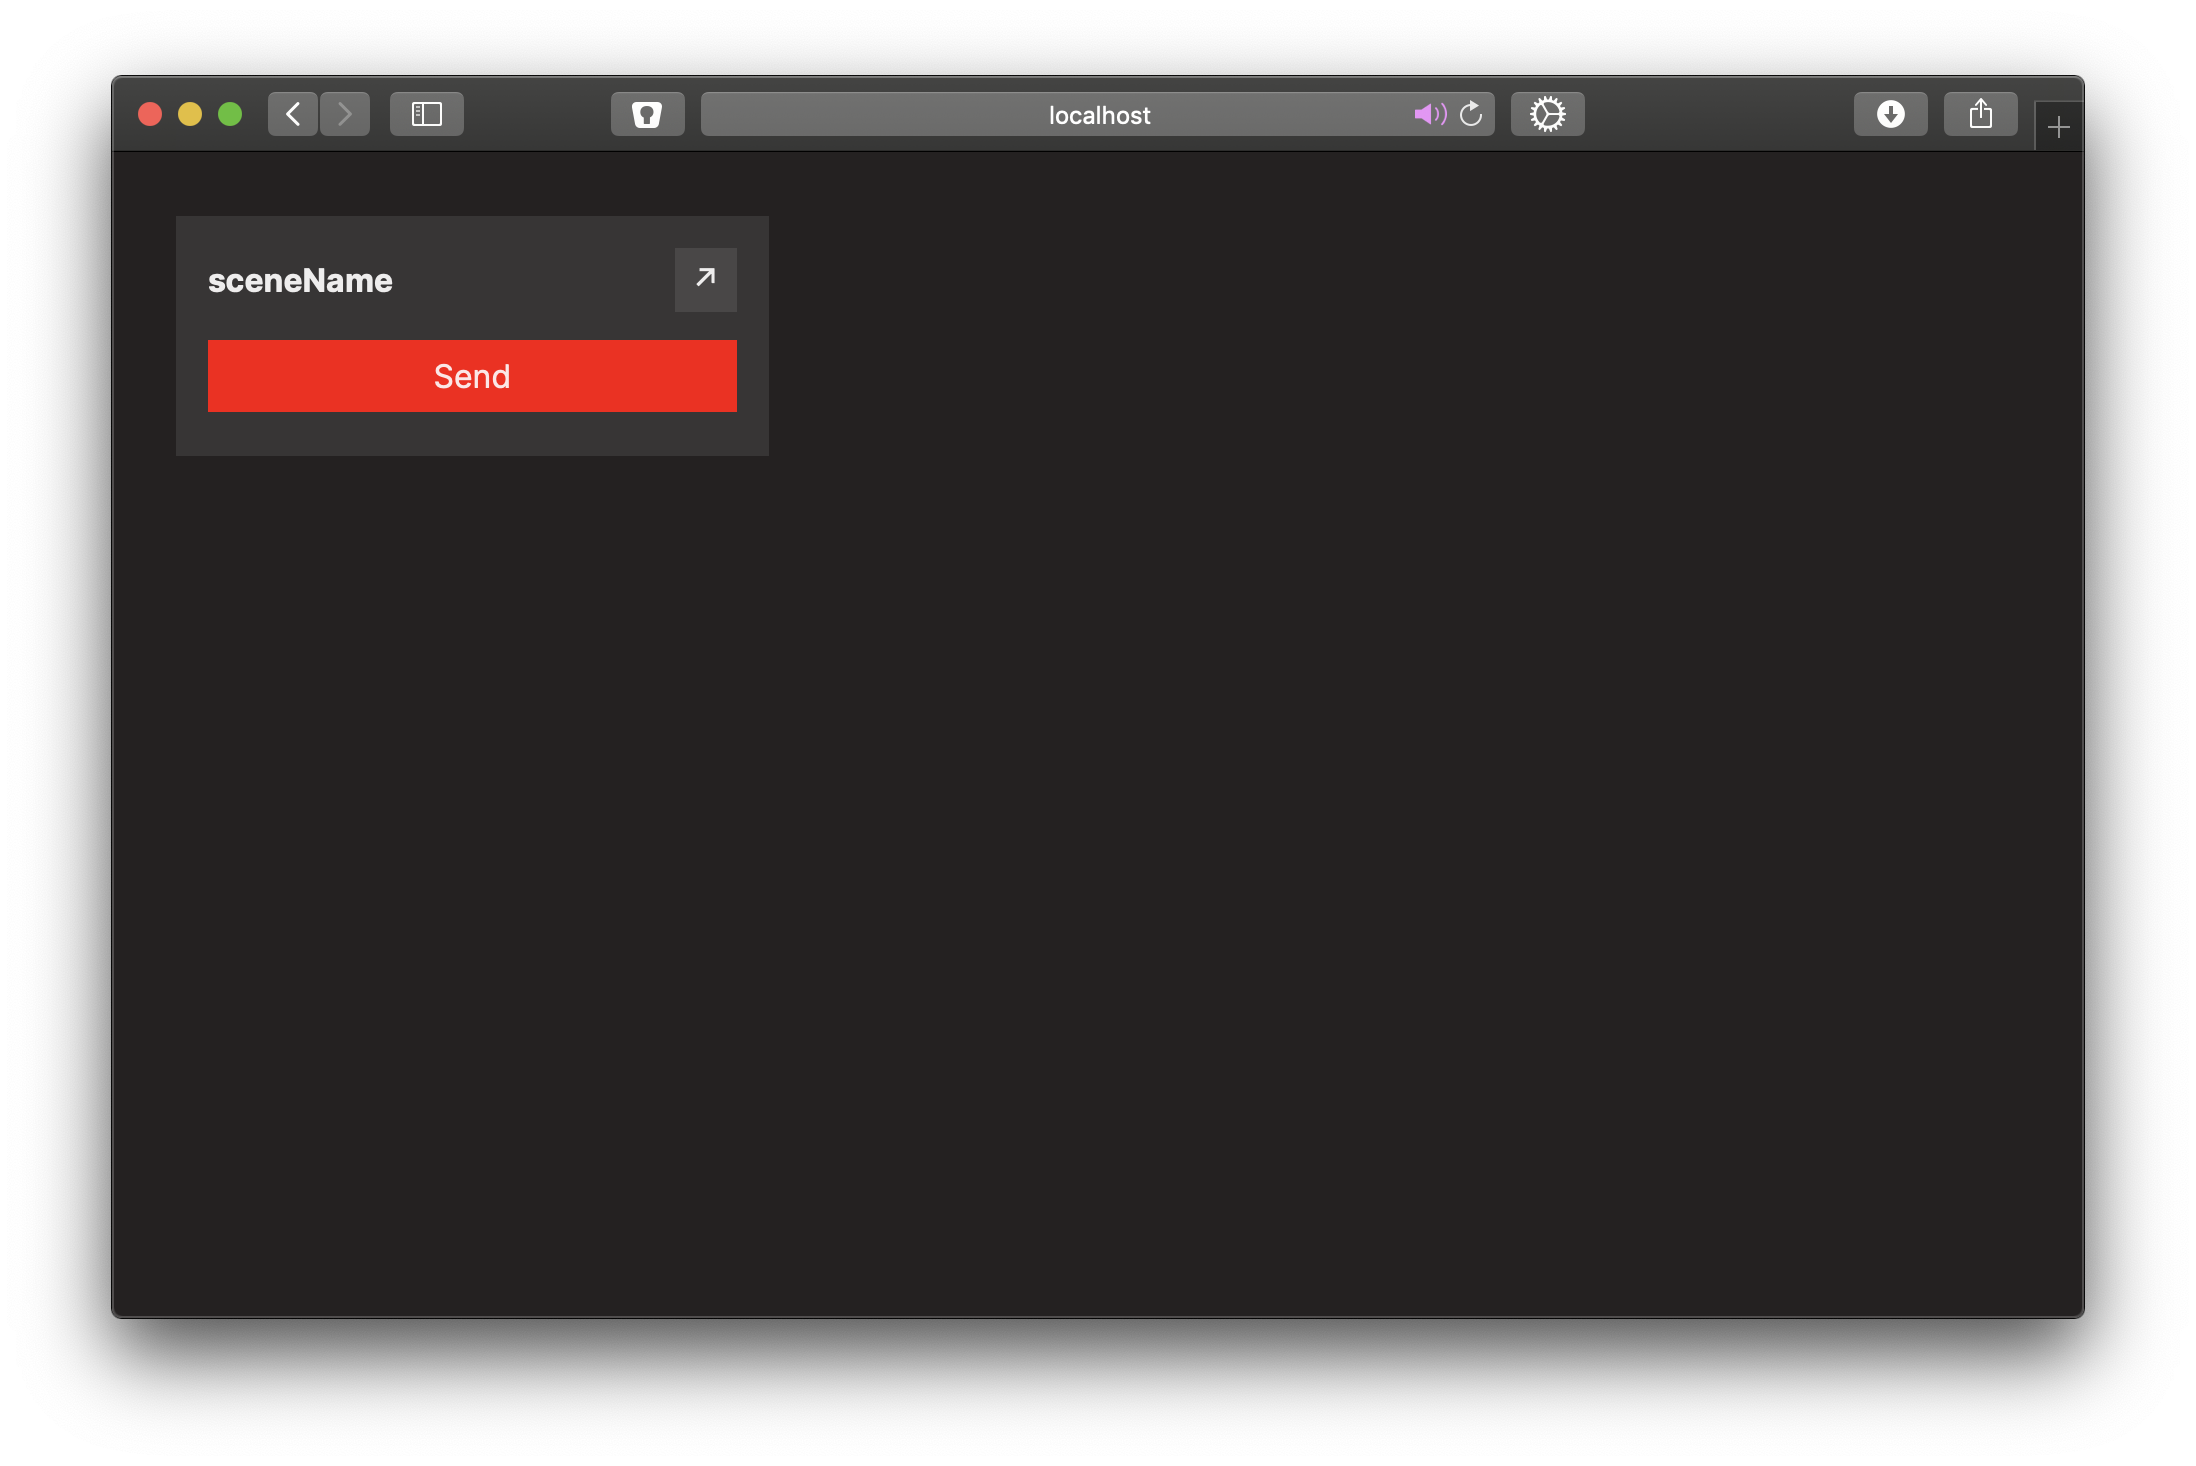
If you run this, you will see the following:
- Remote
- Scene
note
The scene can be opened by clicking on the arrow in the corner of the control. It will open in a new tab.
Adding Controls#
What we've got going is great and all, but it doesn't have any data passing into it. We can fix that by adding a control. Let's go with a basic stringControl.
tsx
Rerun the file, and the remote should have a new control:
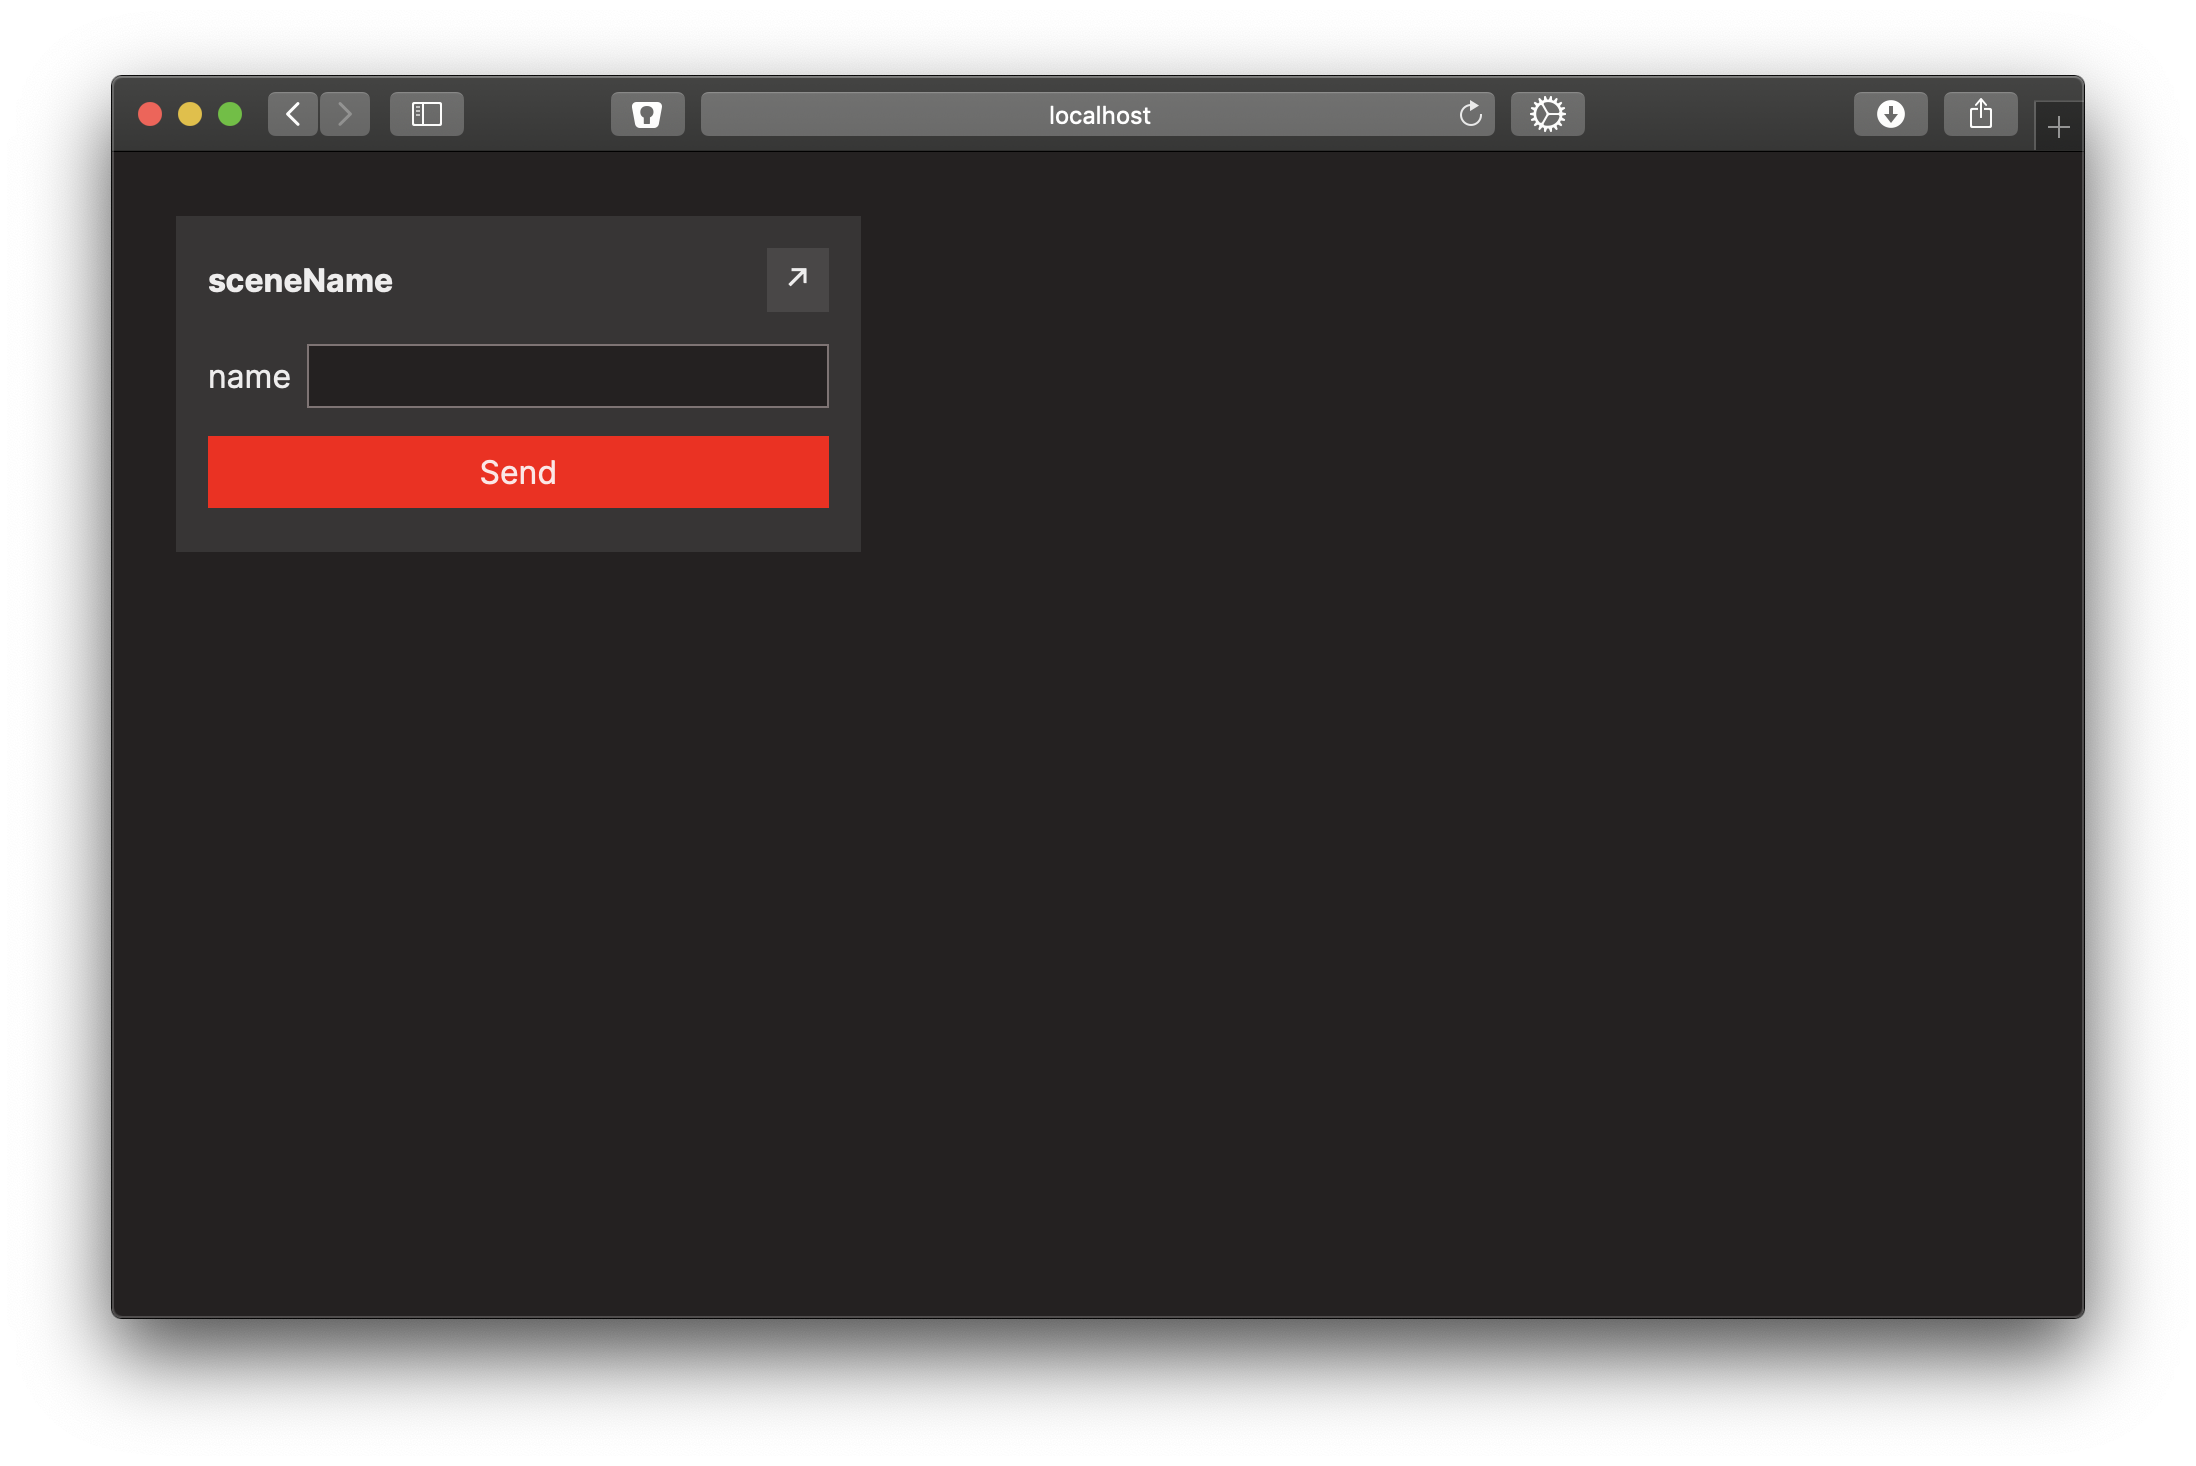
Open up the scene (by clicking on the arrow) and see what happens when you type something into the control and press send. (Hint: the data object will now contain information about the stringContol)
You can add as many controls as you like, just add them to the controls object in the same way as before and make sure that they all have different names.
That's the basics of Relive done!